Importing and exporting projects
This guide contains:
- Export your project
- Export your project from the command line
- Import your project
- Import your project from the command line
Export your project
Export your Dradis project for collaboration, for consistency, or for testing purposes. When you export, you can choose whether you want to export the whole project or a project template.
Full project exports are just that, the entire project complete with screenshots and attachments. Choose the full project export when you want to recreate this exact project or continue working on the project elsewhere.
Project templates are designed for consistency. These project scaffolds are ready to be uploaded to new projects or to be added to the list of available Project templates you can select when creating a new project.
Open the project you want to export
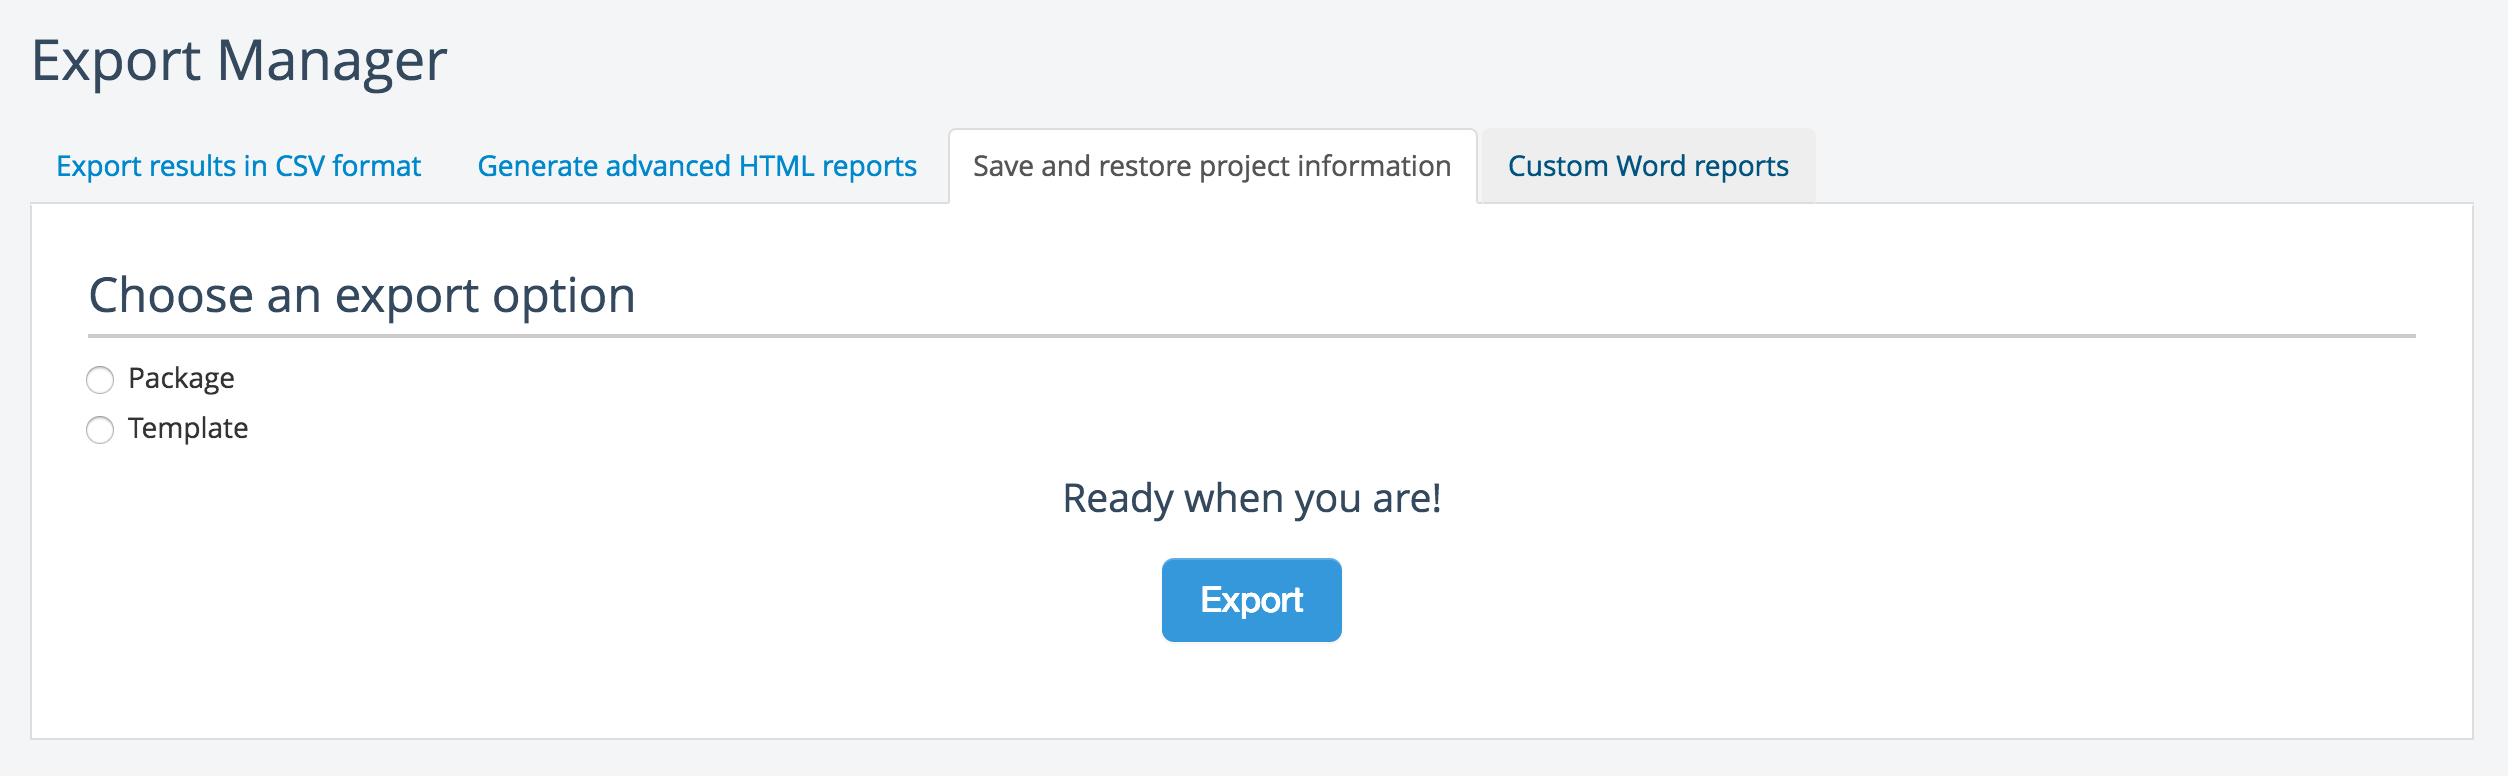
Click Export results in the header and navigate to the Save and restore project information tab.
Select Package if you want to export the full project (.zip file). Select Template to export the project as a Project template (.xml file).
Click Export to download
dradis-export.zip(full project file) ordradis-template.xml(project template file) to your local system
Export your project from the command line
If you don't have access to the web application or are running into a timeout error when exporting a large project, try exporting your project from the command line instead.
Before you begin, locate the Project ID of the project you want to export. Check the URL of the project when you first open it. For example, if the URL is /pro/projects/123, your Project ID is 123.
To export your project from the command line:
-
SSH into the console as
dradispro, then navigate to the current folder:$ cd /opt/dradispro/dradispro/current/
-
Decide whether you want to export your project as a package (
.zipfile) or a template (.xmlfile). You'll need the results of this decision in the next step. -
To export your project as a package (
.zipfile), run the following command, making sure to sub in your actual Project ID for123below!$ PROJECT_ID=123 RAILS_ENV=production bundle exec thor dradis:plugins:projects:export:package
Or, to export your project as a template (
.xmlfile), run the following command, making sure to sub in your actual Project ID for123below!$ PROJECT_ID=123 RAILS_ENV=production bundle exec thor dradis:plugins:projects:export:template
The expected output of either command ends with a line like the following. Head to that file location and grab your exported project!
INFO -- : Project package created at:
      /opt/dradispro/dradispro/releases/20170410183245/backup/dradis-export_2017-06-04_1.zip
Import your project into Dradis
After you've exported your project using one of the methods above, you can turn around and import it back into Dradis.
Create a new (blank) project and open it.
-
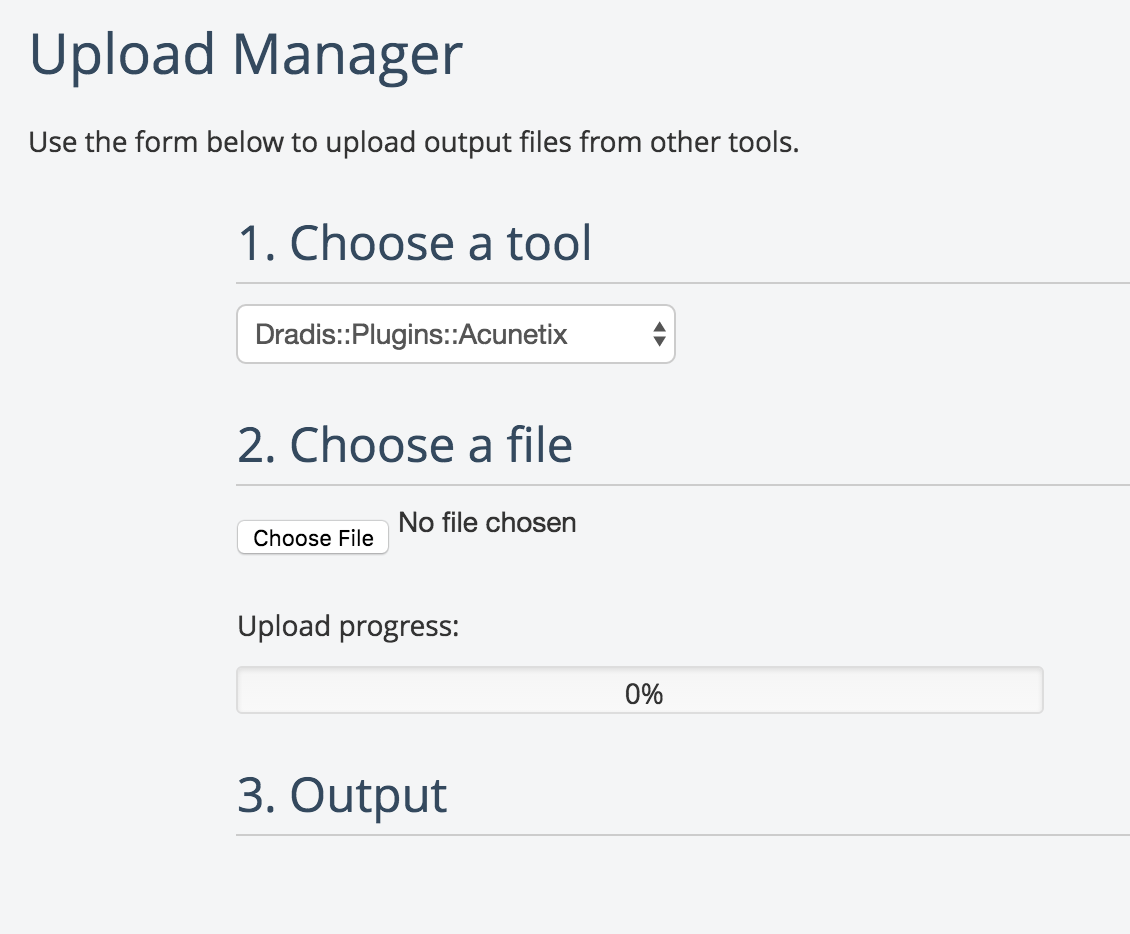
Navigate to Upload output from tool in the header of your project.
-
Make your selection underneath Choose a tool.
If you're working with a full project export (
dradis-export.zip), select Dradis::Plugins::Projects::Upload::Package from the dropdown.If you're working with a project template file (
dradis-template.xml), select Dradis::Plugins::Projects::Upload::Template from the dropdown.
Under Choose a file, upload the
dradis-export.zipordradis-template.xmlfile from your local system.Watch the onscreen log under Output until you see the message:
Worker process completed
Import your project from the command line
If you don't have access to the web application or are running into an error when you import your project, try importing your project from the command line instead.
Before you begin, locate the Project ID of the project you want to import into. Check the URL of the project when you first open it. For example, if the URL is /pro/projects/123, your Project ID is 123.
If you need to create a new project to import into, you can also do that from the command line with the create_project.rb script.
To import your project from the command line:
-
SSH into the console as
dradispro, then navigate to the current folder:$ cd /opt/dradispro/dradispro/current/
- SCP your project file (
dradis-export.zipordradis-template.xml) to the/tmpfolder of your instance. -
If you have a package file (e.g.
dradis-export.zip), run the following command. Make sure to sub in your actual Project ID for123below! And, make sure to upload the filename / path if your package is not nameddradis-export.zipor isn't located in the/tmpfolder on your instance.$ PROJECT_ID=123 RAILS_ENV=production bundle exec thor dradis:plugins:projects:upload:package /tmp/dradis-export.zip
Or, if you have a template file (
dradis-template.xml), run the following command. Make sure to sub in your actual Project ID for123below! And, make sure to upload the filename / path if your template is not nameddradis-template.xmlor isn't located in the/tmpfolder on your instance.$ PROJECT_ID=123 RAILS_ENV=production bundle exec thor dradis:plugins:projects:upload:template /tmp/dradis-template.xml
Next help article: Performing a retest →