Connecting Dradis to MediaWiki
Would the IssueLibrary be a better fit for your team?
The MediaWiki add-on has basically been superseded by the IssueLibrary at this point. At their core, both are libraries that allow you to save vulnerabilities for reuse across projects. You can add issues from MediaWiki to Dradis but the IssueLibrary also lets you add issues to your library from Dradis.
The IssueLibrary runs locally on the VM instead of running in the cloud like MediaWiki.
We can convert all your existing MediaWiki entries into a custom import script for you so that you can upload them into your IssueLibrary all at once.
Having a repository of common issue descriptions is a good way of saving time during the reporting phase of the engagement.
One of the options available to our users is to import issue descriptions from a MediaWiki instance.
In this guide we're going to cover how to connect your Dradis Professional appliance to a MediaWiki instance, how to structure your content and how to query and import entries from your wiki.
This guide contains:
- The result
- Get MediaWiki up and running
- Adding your first entries
- Configuring the connection
- Importing entries
The result
We want to be able to maintain a repository of issues in wiki instance somewhere in our network and we want to be able to import those issues from Dradis.
This will allow us to pull complete issue descriptions quickly from the wiki into our project.
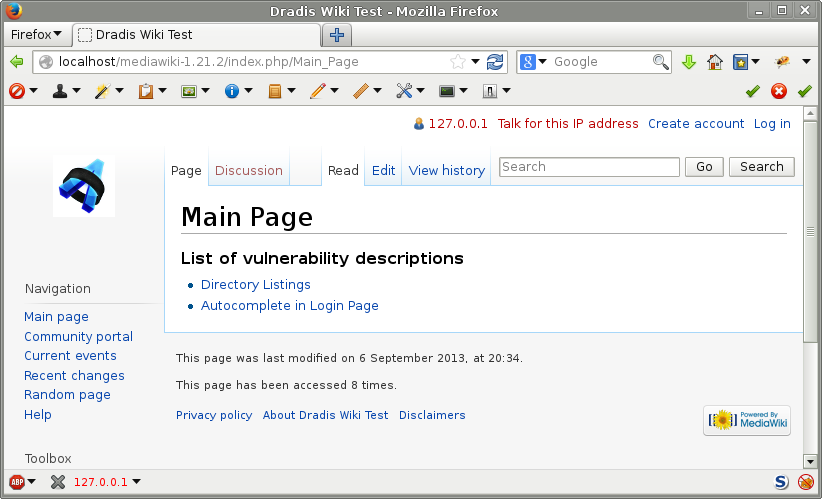
We want to be able to use the Import Issues module in Dradis to pull data from the wiki:

Get MediaWiki up and running
Providing detailed instructions on setting up MediaWiki is outside the scope of this guide (see the "Installation guide":http://www.mediawiki.org/wiki/Installation on their website for a good starting point). However if all goes according to plan, these are the steps required:
- Download the latest version of the app.
- Uncompress in your web server (for instance under
/var/www/mediawiki-1.21.2). - Point your browser to that directory: http://[domain]/mediawiki-1.21.2/index.php
- Follow the instructions
You'll need to configure a database connection so MediaWiki can store its contents.
Adding your first entries
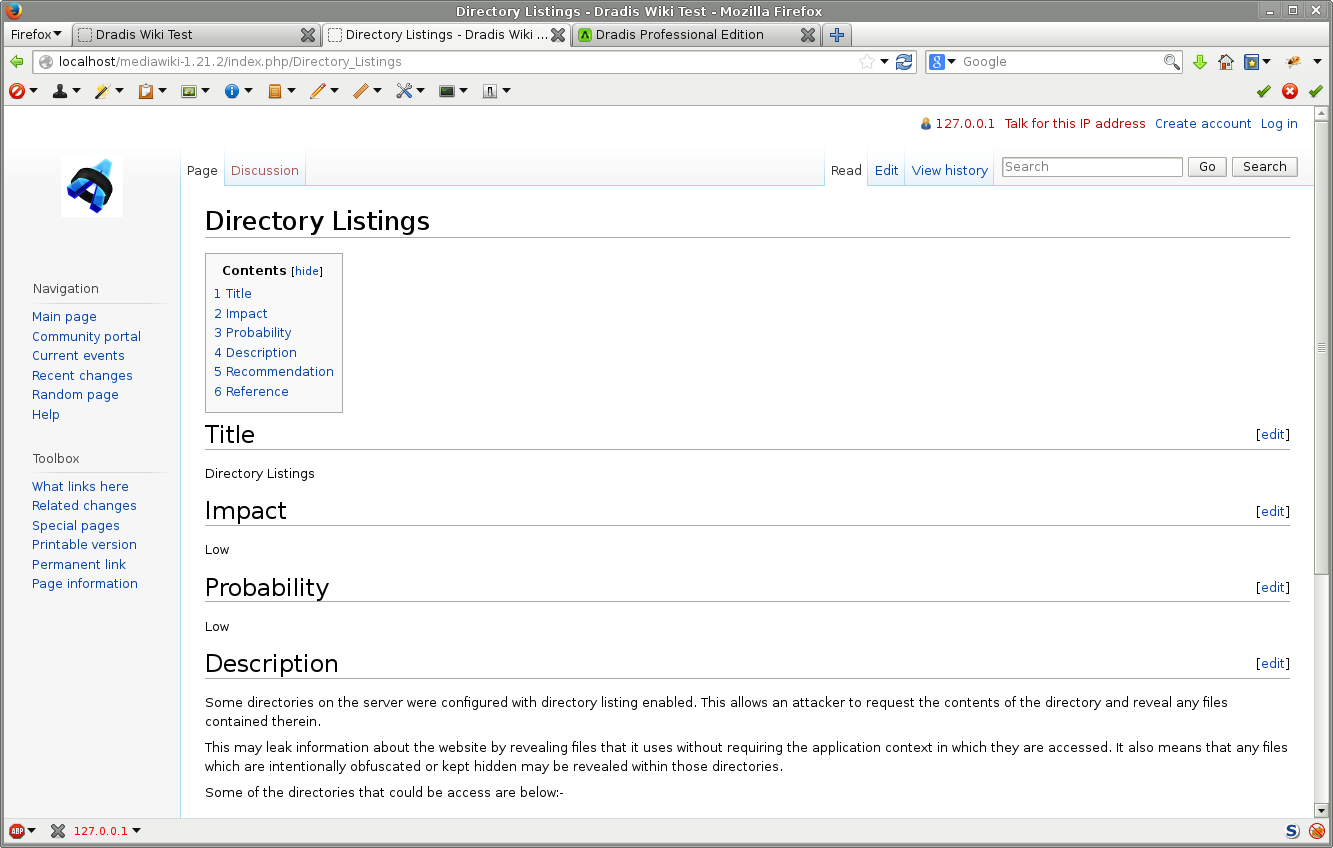
You can structure your entries however you want and use the field names you want. For instance, typically each entry will have:
- Title
- Description
- Recommendation
- Impact
- Probability
- ...
You can have other fields, CVSSv2, References... The important thing is that the fields in your entries repository match the fields in your report template.
Here is an example of what one of these entries should look like in the wiki format:

And also rendered inside the wiki:
We recommend that you create an index page with a reference to all the entries, but this is for your own convenience, it is not really required:
Configuring the connection
Once you have a few sample entries in your wiki, it is time to connect Dradis to it.
First, make sure that you've enabled the MediaWiki import add-on
Log into Dradis and create a new project for testing purposes, lets call it
MediaWiki.-
Open that project and click on the Settings icon in the upper-right corner of the window, then select Configure plugins:

Configuration settings are sorted alphabetically, go to the bottom of the screen to locate the wiki-related ones:
Field Description Default value fields The fields in your entries Title,Impact,Probability,Description,Recommendation host The host name of the wiki server localhost path The path to the wiki install /mediawiki/api.php port The port number of your wiki server 80 scheme http vs https http(s)
Importing entries
After providing all the relevant configuration you can navigate back to the Project and go to the Issues tab:

You can see the different search fields of the Import issues module on the right-hand side of the window. Go down to the MediaWiki one and input some text and hit Enter. The results will be displayed underneath the search field:

Browse through the results and click on the Add issue button to import that entry into the project:

And the issue will appear in your Issues list:

Next help article: Enable extra import add-ons →