Working with Projects
This page contains:
Each project can belong to a team and a team can have multiple projects. Reports are generated on a project level so make sure to create a new project whenever you need to create a separate report.
Add New Projects
- Sign in as Administrator.
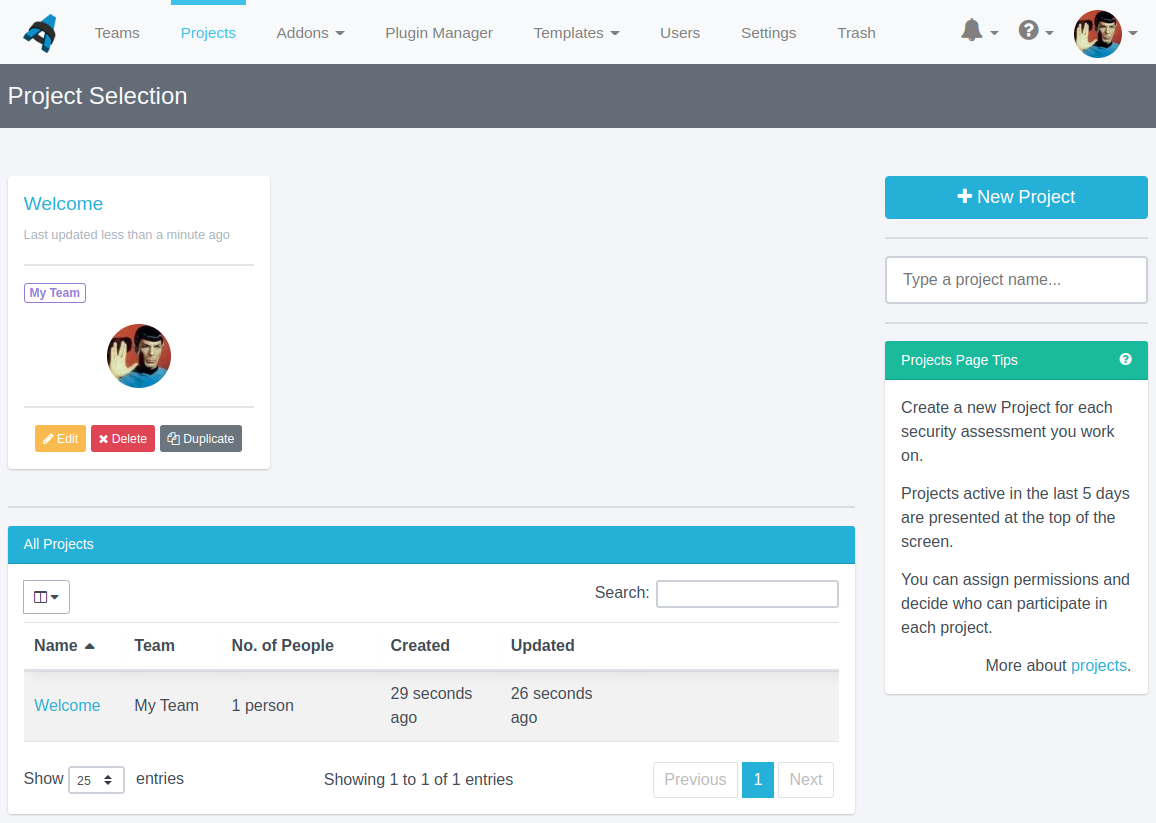
- Navigate to Projects Dashboard > Projects.
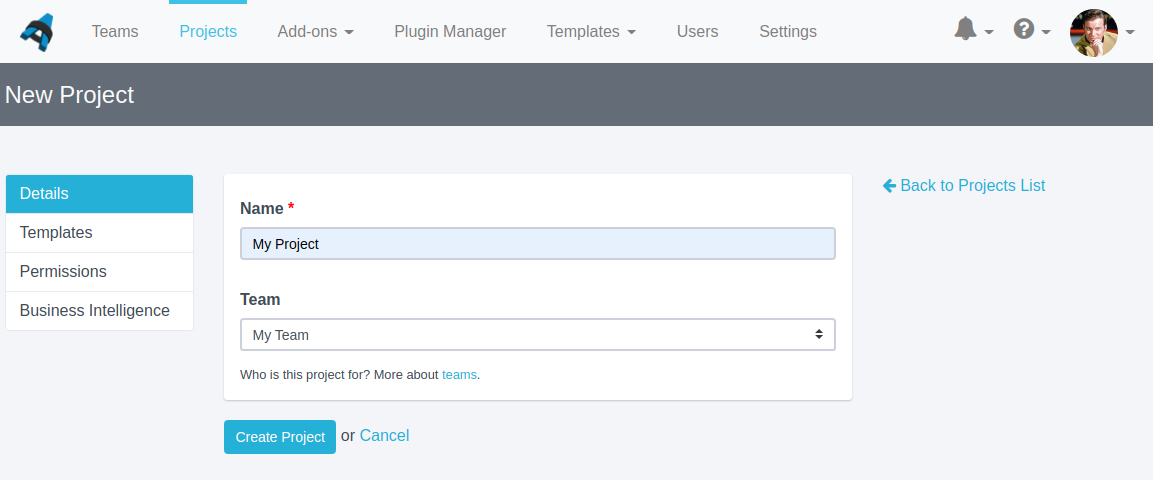
- Click on the New Project link in the right-hand sidebar.
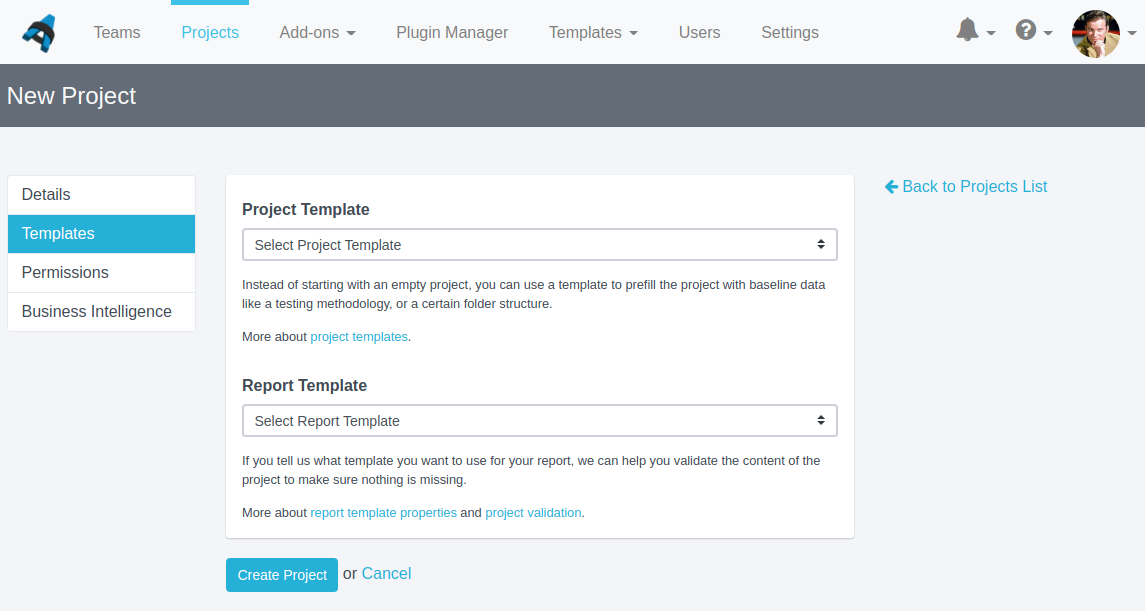
- Enter in the name of the project (required), select the team the project belongs to (optional), and select the template you want to use for the project (optional).
- If you associate a report template with your project, but not a project template, then your new project will have auto-generated Content Blocks and Document Properties corresponding to those specified in your Report Template Properties. If you associate a project with a report template later on, any missing Content Blocks and Document Properties will be auto-generated for you as well.
- You may also use the Scheduler to set a start and end date of the project.
- If you have multiple users, select the Authors who need access to this project (Administrators automatically have access to all projects).
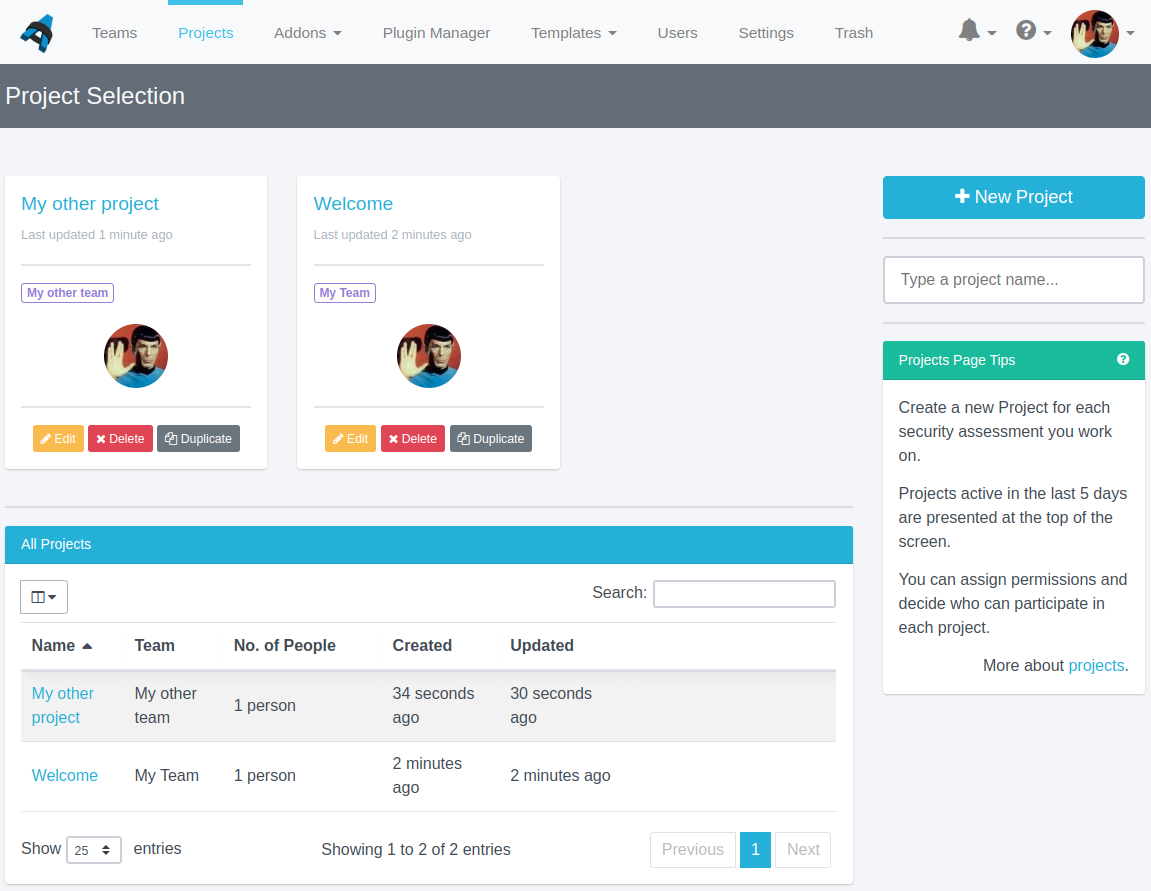
- Click Create Project and your new project will now appear on the Projects page.
Existing Projects
Edit a project
Edit the team or name of a project. Note: you cannot edit the template of a project once the project has been created.
- Sign in as Administrator.
- Navigate to Projects Dashboard > Projects.
- Select the yellow Edit button below the correct project.
- Edit the name or select the correct team for the project.
- If you have multiple users, change or select the Authors who need access to this project (Administrators automatically have access to all projects).
- Edit the start and end dates of the project (optional).
- Click Update Project to save the changes
Archive a project
Archiving a project does not delete a project, but leaves it in the Archive tab of the Projects view. This way you can maintain an uncluttered view of active projects without needing to send inactive projects to the trash.
- Sign in as Administrator.
- Navigate to Projects Dashboard > Projects.
- Select the grey Archive button under or next to the correct project.
- The project will be sent to the Archive tab of the Projects table.
If you click on the Archive tab of the Projects table, you will see all archived projects. You can Edit, Unarchive, or Trash the project from there.
Trash a project
Trashing a project will not delete the team or other data on your Dradis Pro instance. Trashed projects will not be permanently deleted until deleted from the Instance Trash.
- Sign in as Administrator.
- Navigate to Projects Dashboard > Projects.
- Select the red Trash button under or next to the correct project.
- The project will be sent to the Instance Trash.
Duplicate a project
Duplicating a project lets you clone a project with a single click. For example, this might be useful if you need to re-test a project from the past.
Simply click the Duplicate button and the project will be duplicated, with copy_01 appended to the original project's name.
Working with projects
In the interest of keeping information organized, I'm going to ask you to check out the Working with projects guide for more information.
We want to ensure that the latest and most up-to-date information about each topic is in a single guide.
Next help article: The Instance-wide Trash feature →