From Nessus output to custom report
1. Create the project and return the project ID
Download the following file: create_project.rb
Use the SCP command to copy it to your instance in the /opt/dradispro/dradispro/current/ directory.
2. Run the following commands in the console as "dradispro"
$ cd /opt/dradispro/dradispro/current/
$ RAILS_ENV=production bundle exec \
      rails runner \
      project.rb "Name of project"
Sub in the name you want for your project. After churning for a minute, the console will output the project ID. Hang on to that ID, you'll need it for the next two steps.
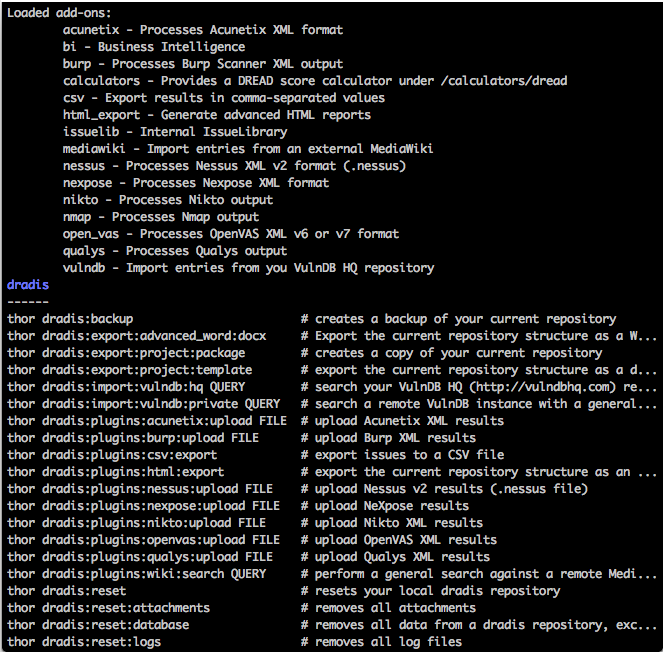
3. Use Thor to upload the Nessus file to the corresponding project.
Still in the console as "dradispro", run:
$ PROJECT_ID=# RAILS_ENV=production bundle exec thor \

    dradis:plugins:nessus:upload FILE
Don't forget to substitute in the project ID and the actual file path to the nessus upload.
4. Generate the report from the command line
For simplicity I'm going to ask you to check out this guide for more information on the output and template parameters: Generating the Report from the Command Line
Next help article: Update your IssueLibrary entries →