Upload and work with CSV files
This page contains:
The Process
Working with CSV output is slightly different from working with other tool output file formats in Dradis. Unlike other tool integrations, you can not use the Plugin Manager or the Rules Engine with CSV output.
Mapping the columns of the CSV output to your desired project fields is therefore on a per-file basis. Other than that, the process is similar to working with other tool output.
If your CSV file is malformed or errors are detected, you will get a warning page and the file upload will not proceed.
This includes ensuring that your CSV file is specifically comma-separated! If your CSV file actually separates columns by semicolons or other separators, the CSV uploader will not work properly. In that case, we recommend re-exporting your CSV file with the correct (comma) delimiter, or opening your file in e.g. Excel and exporting as CSV with the correct delimiter.
Uploading a CSV file to a project
For this section we will assume you are uploading a CSV file to a project which you have not associated with a report template.
- Within a Dradis Project, navigate to Upload in the header and select the Dradis::Plugins::CSV file type from the dropdown. Next, select the CSV file you want to upload.
-
You will be redirected to a page where you can set the mapping of fields from the CSV file to your project.
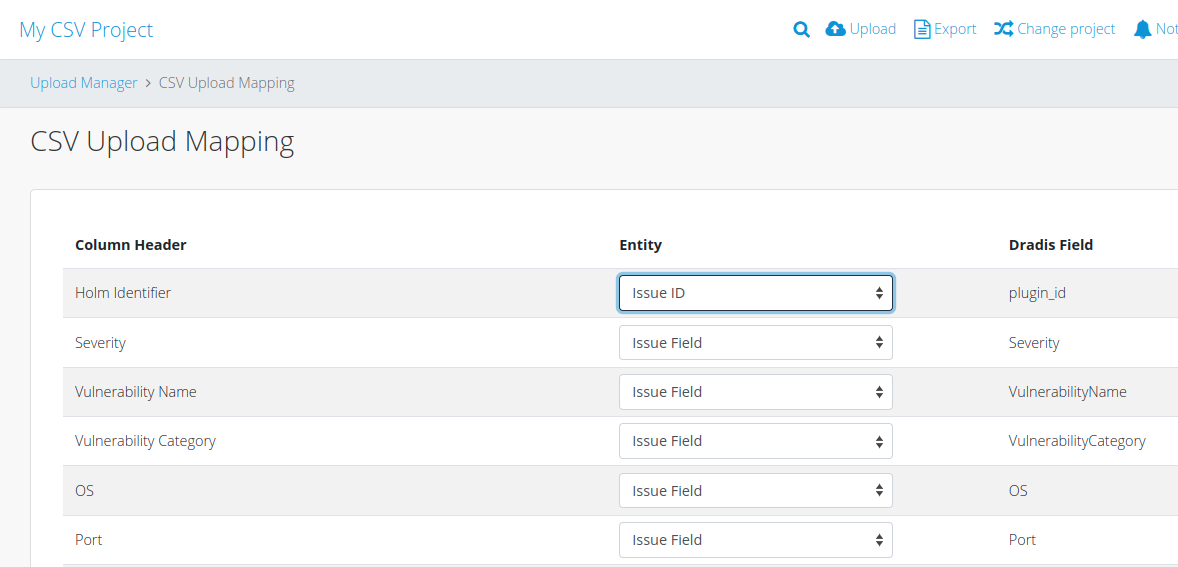
You can select
Issue ID,Issue Field,Evidence Field, orNodeas fields to use, or you can chooseDo Not Importif you do not want this field to import into your project.Issue IDis for a unique identifier for each Issue from the CSV file, for aplugin_idfield in your project.Issue Fieldcreates a field for each Issue in the file. For example, aDescriptionfield in your CSV file will be mapped to aDescriptionfield in your project for each Issue.Evidence Fieldcreates a field for each piece of Evidence for Issues in the file. For example, aPortfield in your CSV file will be mapped to aPortfield in your project for each piece of Evidence.Nodecreates a Node label for each piece of Evidence for Issues in the file.
- Once you have mapped all the fields, click the Import CSV button to upload your CSV file.
- Marvel at the magic and at how the freshly imported Issues and Evidence match the format that you configured.
Integrating a CSV file with a report template
Now let's look at the flow when you are uploading a CSV file to a project that is associated with a report template.
- Create or edit a project so that it is associated with a report template with its Report Template Properties set. Within the Dradis Project, navigate to Upload in the header and select the Dradis::Plugins::CSV file type from the dropdown. Next, select the CSV file you want to upload.
-
You will be redirected to a page where you can set the mapping of fields from the CSV file to your project.
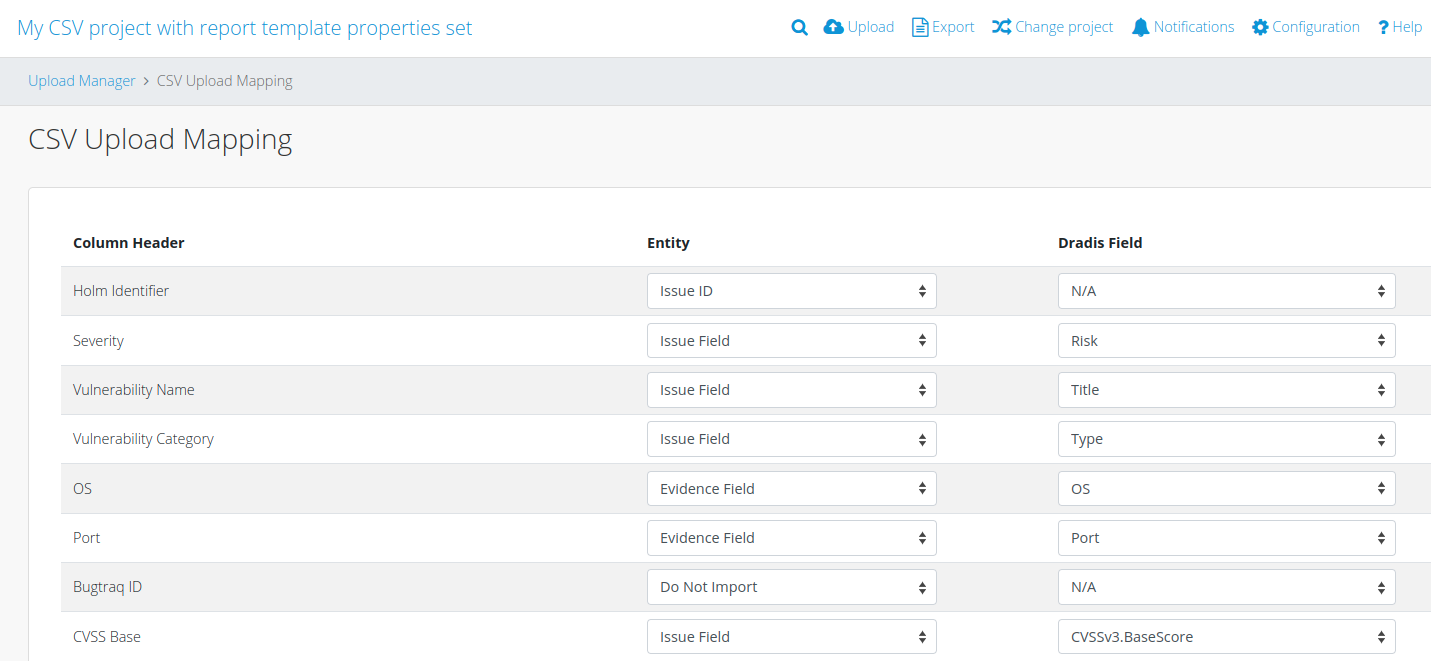
As above, you can select
Issue ID,Issue Field,Evidence Field, orNodeas fields to use, or you can chooseDo Not Importif you do not want this field to import into your project.Issue IDis for a unique identifier for each Issue from the CSV file, and will populate aplugin_idfield in your project.Issue Fieldpopulates a field for each Issue in the file. The dropdown field on the right lets you pick a field from the Report Template Properties to map your CSV file's data to. For example, your CSV file might have a column forSeveritythat you want to map to aRiskfield in your project for each Issue.Evidence Fieldcreates a field for each piece of Evidence for Issues in the file. For example, aPortfield in your CSV file could be mapped to aLocationfield in your project for each piece of Evidence. From the dropdown to the right, you can pick a field from the Report Template Properties to map the CSV data to. In case you don't have any Evidence fields set in your Report Template Properties, but still want to import Evidence data to your project, the dropdown button will default to creating a field for each piece of Evidence that matches the field's column name in the CSV file.Nodecreates a Node label for each piece of Evidence for Issues in the file.
- Once you have mapped all the fields, click the Import CSV button to upload your CSV file.
- Marvel at the magic and at how the freshly imported Issues and Evidence match the format that you configured.
Next help article: Search your project →