Using Nodes
This page contains:
- Structuring your project
- Adding top-level Nodes
- Modifying, deleting, merging, and moving nodes
- Inside a Node
Nodes are containers, similar to "folders" in a file system.
Most of the information in a Dradis project is associated with a Node including: notes, attachments, and evidence.
Structuring your project
Depending on the type of security assessment you're working on, you'll want to structure your project in a different way. Here are two sample project structures:
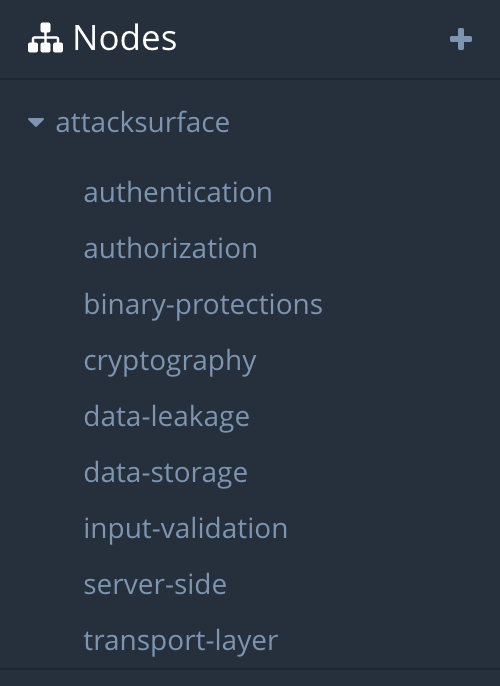
Mobile app assessment
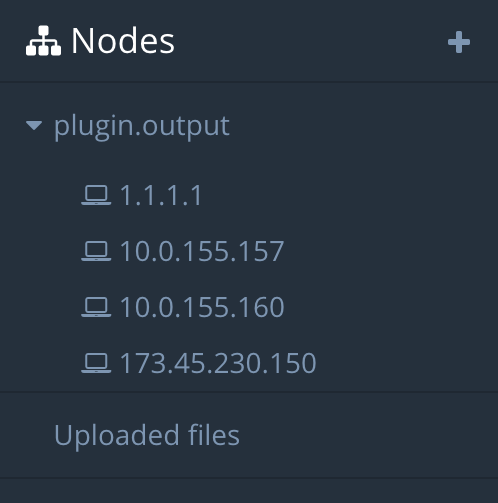
Network assessment
You can nest your nodes to create a tree structure.
Nodes are simply containers without any meaning attached to them. They can represent anything: hosts, wireless networks, areas of the attack surface, OWASP categories... you get the idea.
Adding top-level Nodes
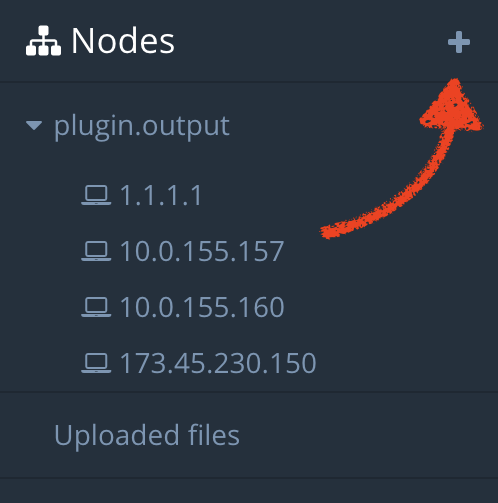
Add new root branches to the tree using the + symbol in the sidebar:
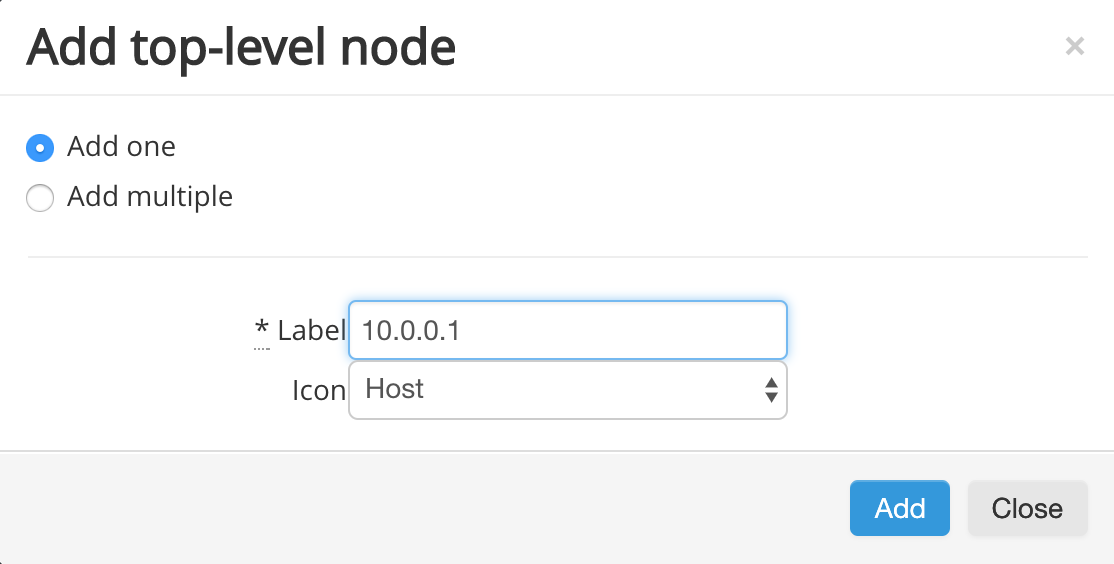
Add one Node
In the pop-up that appears, select Add one to add a single top-level Node to your project. Give the node a label and select an Icon if desired. Then, click Add to create the node.
Add multiple Nodes
To create more than one node at the same time, select Add multiple. Type or paste a list of the nodes you want to create into the editor window. Make sure to add each new node on a new line. Select an Icon if desired, then click Add to create all of your nodes at the same time.

Modifying, deleting, merging, and moving nodes
Once you click on a node, you can perform several operations using the top menu, including:
- Adding a child node. Click + Add subnode and use the process described above to add a single subnode or add multiple subnodes.
- Destroying it by clicking Delete. Remember that you can restore deleted content later with the Trash feature.
- Edit the node label by clicking Rename.
- Change the nodes place in the tree structure by clicking Move.
- Merge the node with another by clicking Merge. Merging will carry over all Notes, Evidence, Attachments, and Activities from the source node into the target node.

Inside a Node
Once you click on a Node, in the contextual sidebar you'll find:
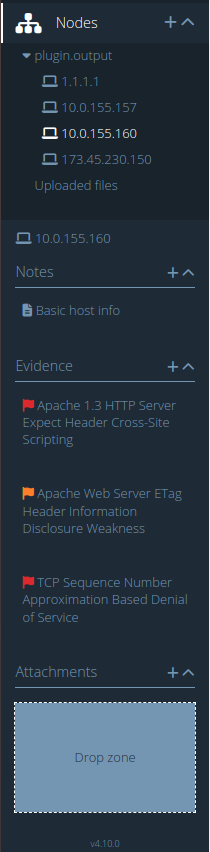
Notes
-
Use them as scrap paper, for random ideas, things you want to remember, TODOs, etc.
Evidence
-
When you find a vulnerability, you typically associate it with a Node to link the Issue to the location (Node) in the project. In the Evidence section you include the specifics. For example:
- what is the problem?
- In what URL / parameter?
- In what file / line of code?
The details you include in the evidence will depend of the type of assessment (and your report template).
Attachments
-
These are files you upload. Typically: screenshots, raw console output captures, files you got from the server, etc.
Inside the Node you can also access a table of all the Evidence or all of the Notes associated with the Node. This allows you to Filter the table, display the fields that you need to see, as well as delete multiple instances of Evidence at the same time.
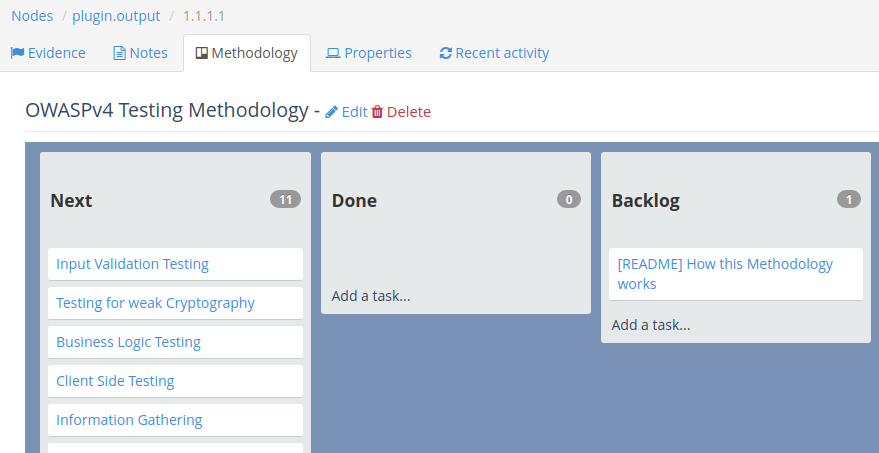
There is also a Methodology tab where you can add a node-level methodology.
Learn more about working with Methodologies
Next help article: Node properties →