How to install Dradis on OpenStack
This guide was created based on the instructions generously provided to us by a Dradis Pro user.
Installing Dradis on OpenStack is fairly straight-forward and consists of a few additional steps in addition to the standard installation process. On a high level:
- Locally downloading the image
- Locally converting the image
- Uploading the image to OpenStack
- Deploying the machine
- Running the traditional setup
Locally downloading the image
Create a folder to keep the files we need (~/Dradis in this example).
> mkdir ~/Dradis
Download the OVA from the Dradis support website, at the time of writing dradis-professional-x86_64-20201208.ova and move it to your newly created folder.
$ cd ~/Dradis
$ mv ~/Downloads/dradis-professional-x86_64-20201208.ova .
Locally converting the image
Unpack the image using the tar command, this will leave you with three files:
- dradis-professional-x86_64-20201208.ova
- dradis-professional-x86_64-20201208-disk001.vmdk
- dradis-professional-x86_64-20201208.ovf
$ tar -xvf dradis-professional-x86_64-20201208.ova
We are now only interested in the actual disk: the *-disk001.vmdk, this we can convert using the qemu-img command:
$ qemu-img convert dradis-professional-x86_64-20201208-disk001.vmdk Dradis-pro-20201208.qcow2 -O qcow2
If you do not have the command, you need to install qemu-utils which contain qemu-img, this can be done with for example APT apt install qemu-img.
Uploading image
OpenStack CLI tools
If have the OpenStack CLI tools installed, you can skip this step. Otherwise do the following to install the CLI tools:
$ pip install python-openstackclient
OpenStack API user
If you have an OpenStack API user, you can skip this step. Otherwise create your API user and set a password on OpenStack, this can easily be done through the web interface. Then download the RC-file:
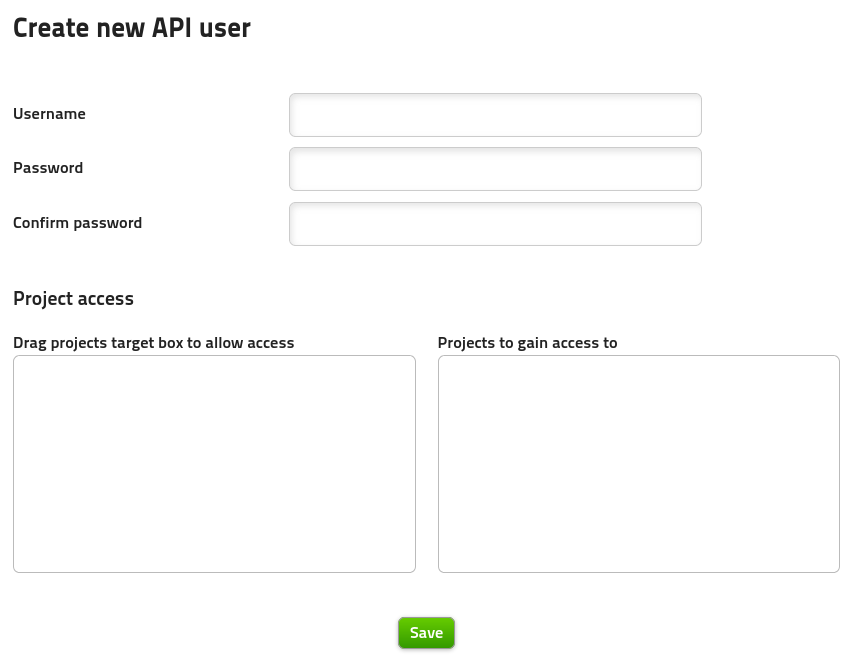
Create a new API user, allowing you to download the RC-file after creation.
Interacting with the API
Now you are ready to interact with the API, see if you can list your current images:
$ openstack image list
If you are presented with an error Missing value auth-url required for auth plugin password, try to source your .rc file. This should be done every time before you can utilize the OpenStack API:
$ source ~/openstack.rc
If that works, you can upload your newly converted image to OpenStack! You can do so with the command below:
$ openstack image create --private --disk-format qcow2 --container-format bare --file ~/Dradis/Dradis-pro-20201208.qcow2 --min-disk 80 --min-ram 8 'Dradis Professional 20201208 x64'
As the current image in qcow2 is 6GB in size, upload can take a while depending on your Internet speed. After uploading is finished, use either the web application or the CLI tools openstack image list to verify that your image is succesfully created:

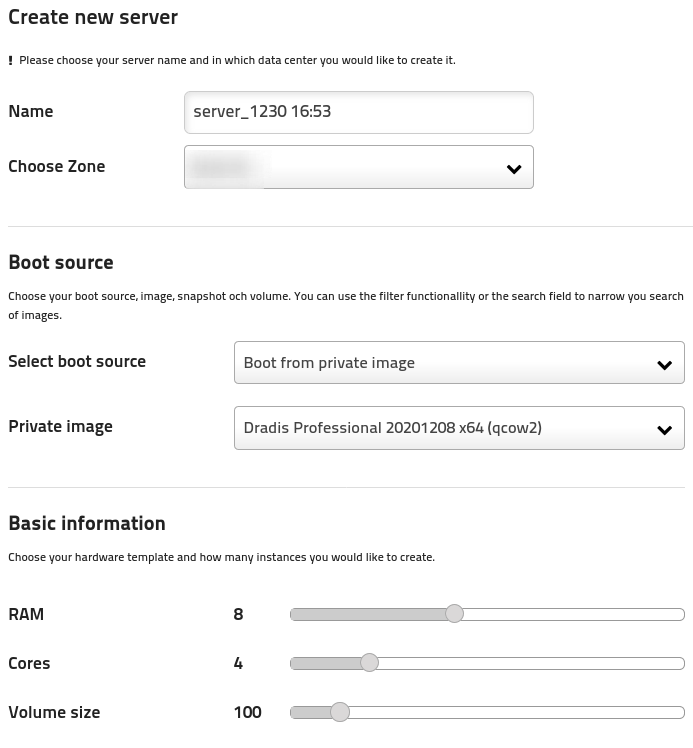
Deploying the machine
Now you should be able to create a new server, using your freshly converted and uploaded Dradis image. Either through the API or the webapp create a server up to the specifications in the FAQ:
Access the VNC remote console to unlock the encrypted drive using the default credentials found on the [Dradis portal](https://portal.securityroots.com/releases/) under the specific release.
Setup your security groups so that you can access the machine if required.
Then continue setup as per the deployment guide.
Great job, you reached the end of the guide! Have you read all of them?